The Guide to Your Perfect Early Morning Pour Over

What Is Pour Over Coffee and Why Does It Taste So Good?
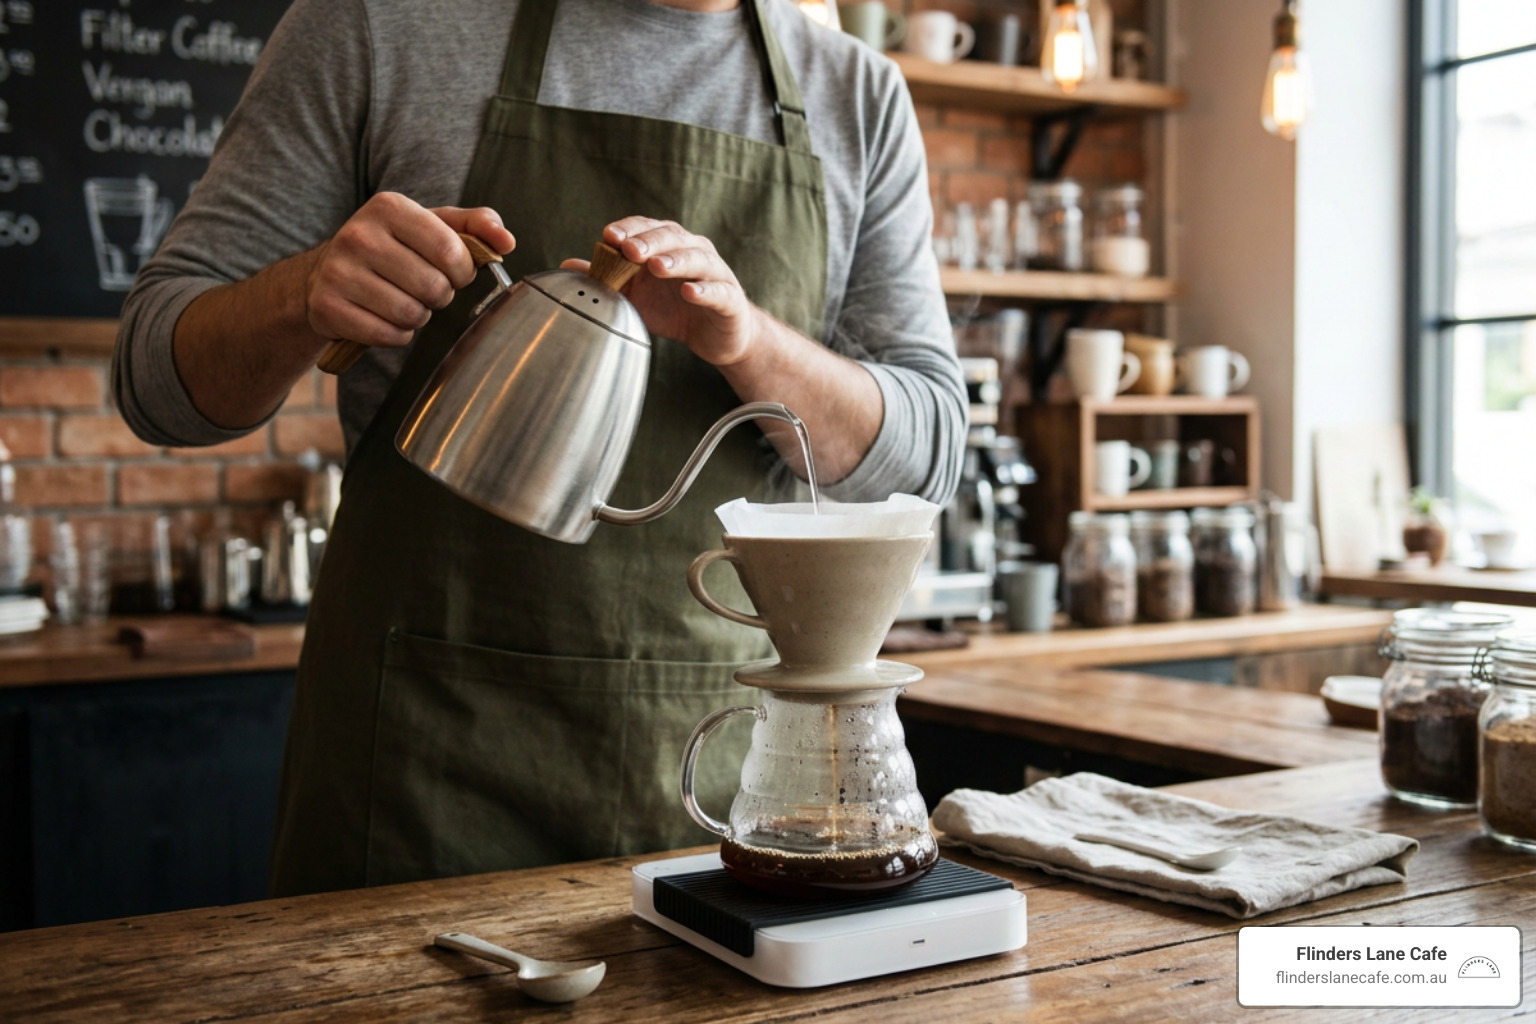
Pour over coffee is a manual brewing method where you slowly pour hot water over ground coffee in a paper filter, letting gravity pull the liquid through into your cup below.
Here's a quick answer if that's all you need:
- What it is: A hand-brewed coffee method using a dripper, paper filter, and hot water poured by hand
- Brew time: 3 to 4 minutes total
- Coffee-to-water ratio: 1:16 is the standard starting point (e.g. 20g coffee to 320g water)
- Water temperature: Around 93°C (200°F) for most roasts
- Key result: A clean, bright cup that highlights the natural flavour of the beans
Unlike a standard drip machine or espresso, pour over puts you in control of every variable. The paper filter removes most of the oils and fine particles, which produces a cleaner, more transparent cup with a lighter body.
That clarity is the whole point. When done right, pour over coffee reveals flavour notes you simply won't taste in a rushed machine brew.
It's also genuinely approachable. You don't need a commercial setup or barista training to get a great result at home. As one brewing guide puts it, "filter, grounds, hot water, four minutes" is really all it takes to get started.
If you want to dig deeper into how pour over compares to espresso-based drinks, our Beginner's Guide to Brew Coffee vs Espresso is a great place to start.
I'm Janice Kutz, owner of Flinders Lane Cafe in Maroochydore, and with over 20 years in hospitality, I've developed a genuine love for the craft behind a well-made pour over coffee. In this guide, I'll walk you through everything you need to brew a beautiful cup at home, even if you've never tried it before.
Basic pour over coffee glossary:
The Ultimate Guide to Brewing Pour Over Coffee at Home
Brewing pour over coffee is as much a morning ritual as it is a way to get your caffeine fix. It forces you to slow down, stand still for a few minutes, and focus on the simple stream of hot water hitting fresh coffee grounds.
In our busy lives here on the Sunshine Coast, finding those small pockets of intentional calm is incredibly rewarding. When you brew manually, you aren't just pushing a button on a machine. You are actively directing how the water flows, how long it stays in contact with the coffee, and how the final cup tastes.
This hands-on control is what makes filter brewing so special. It transforms coffee from a quick morning utility into a craft that you can easily master in your own kitchen. To help you achieve the perfect extraction, we have put together this comprehensive guide detailing every step of the process, from selecting your equipment to troubleshooting your final cup.
What Equipment Do You Need for Pour Over Coffee?
You don't need a kitchen full of expensive gadgets to start brewing, but a few key tools will make your life much easier and your coffee taste significantly better. Investing in quality gear ensures that you can replicate your results day after day with absolute precision.
Here is the essential gear you will need:
- The Dripper: This is the cone-shaped or flat-bottomed cup that holds your filter and sits on top of your mug or carafe. Popular styles include the Hario V60, the Kalita Wave, and the classic Chemex.
- Paper Filters: Make sure you buy the correct filters that match the shape and size of your specific dripper. Rinsing these before you brew is a crucial step to avoid a papery taste in your cup.
- A Burr Grinder: If you make one upgrade to your home setup, make it a burr grinder. Unlike blade grinders that chop coffee into uneven chunks, burr grinders yield a uniform particle size, which is essential for even extraction.
- A Gooseneck Kettle: This kettle has a long, curved spout that lets you control the flow rate and direction of the water with high precision. While you can use a standard kettle, a gooseneck makes it much easier to avoid dry spots in the coffee bed.
- A Digital Scale: Eyeballing your coffee and water is the fastest way to get inconsistent results. A simple scale that measures in grams allows you to replicate your favourite brew every single morning.
If you are just starting out and want to keep things simple, you can read through online resources for a minimal-gear approach. Once you have your gear sorted, you will find that these exact same tools are perfect for whipping up other chilled treats. For instance, you can use similar precision techniques to make incredible iced drinks at home, which we cover in The Ultimate Guide to Making Barista Quality Iced Coffee.
The Golden Ratio: Coffee, Water, and Temperature
To get a balanced extraction, you need to pay attention to your brew ratio and water temperature. The brew ratio is simply the relationship between the weight of your dry coffee grounds and the weight of your water. Using a scale removes all the guesswork and ensures your coffee is never too weak or too overpowering.
For a standard, balanced cup of pour over coffee, we highly recommend starting with a 1:16 ratio. This means for every 1 gram of coffee, you will use 16 grams of water. If you prefer a slightly stronger cup, you can tighten that to a 1:15 ratio, or if you like a lighter, tea-like body, you can stretch it to 1:17 or 1:18.
Here is a quick reference table to help you plan your brew:
| Coffee (g) | Water (g) | Target Strength | Best For |
|---|---|---|---|
| 15g | 240g | Balanced to Strong | Single small mug |
| 20g | 320g | Standard Baseline | Classic breakfast mug |
| 30g | 480g | Smooth and Light | Two small cups to share |
When it comes to water temperature, the sweet spot for most medium and light roasts is 93°C (200°F). If your water is too hot, you risk over-extracting the coffee and pulling out bitter, harsh flavours. If it is too cold, your brew will taste sour, thin, and under-extracted.
If you do not have a temperature-controlled kettle, simply bring your water to a boil and let it sit off the heat for about 30 to 45 seconds before you start pouring. This brief pause allows the water to cool down to the ideal brewing range, protecting the delicate aromatic compounds in your coffee beans.
Step-by-Step Instructions for Your First Brew
Now that you have your gear ready and your ratios calculated, it is time to brew. Follow these simple steps for a perfect 1:16 single-mug pour over:
- Prep and Rinse: Place your paper filter into the dripper and set it over your favourite mug or carafe. Pour some hot water through the empty filter to rinse away any papery taste and to preheat your equipment. Discard this rinse water from your mug.
- Weigh and Grind: Weigh out 20 grams of fresh coffee beans. Grind them to a medium-fine consistency, which should look like coarse table salt or granulated sugar. Pour the grounds into your rinsed filter and give the dripper a gentle shake to level the coffee bed.
- The Bloom: Place your entire setup onto your digital scale and tare it to zero. Start your timer and slowly pour about 40 to 50 grams of hot water over the grounds, making sure they are all wet. Let it sit for 30 to 45 seconds. You will see the coffee bubble and swell. This is called the bloom, and it allows trapped carbon dioxide gas to escape so the rest of your brew can extract evenly.
- The Main Pour: Once the bloom is complete, start pouring your water in slow, concentric circles starting from the centre of the coffee bed and spiralling outward. Avoid pouring directly onto the paper filter walls. Pour continuously until your scale reads 320 grams.
- The Drawdown: Let the water drip completely through the coffee bed. This final phase is called the drawdown. Your total brew time, from the very first pour to the final drip, should land right in the 3 to 4-minute range. Give your brewed coffee a gentle swirl in the carafe to mix the layers, pour, and enjoy.
How Different Pour Over Coffee Drippers Affect Flavour
The specific shape and design of your dripper will play a major role in how your coffee tastes. Different devices extract coffee in distinct ways, meaning you can choose your equipment based on your preferred flavour profile.
Conical drippers, like the classic Hario V60, have a 60-degree angle and a single large hole at the bottom. This design puts the flow rate entirely in your hands. If you pour quickly, the water flows through quickly. A well-executed V60 brew yields incredible flavour clarity and highlights bright, fruity, and floral notes, making it perfect for single-origin light roasts.
Flat-bottom baskets, such as the Kalita Wave, are much more forgiving for beginners. The flat bottom and three small drainage holes restrict the water flow naturally, ensuring the water stays in contact with the coffee grounds for a more consistent duration. This style of dripper tends to produce a cup with a heavier body and rich, sweet, chocolatey notes.
If you are curious about how these different manual methods fit into the wider world of coffee shop menus, you can read our guide on Your Coffee Menu Unpacked and What's in Your Cup to see how filter coffee stands alongside classic espresso drinks.
Troubleshooting Your Brew Time and Taste
If your first cup of pour over coffee does not taste perfect, do not worry. Manual brewing is all about making small adjustments. The easiest way to troubleshoot your brew is to look at your total brew time and use your grind size as your primary lever.
If your coffee tastes sour, thin, or lacks sweetness, it is likely under-extracted. This usually happens because the water ran through the coffee bed too quickly. To fix this, grind your coffee a step finer next time. A finer grind slows down the water flow and increases the extraction time.
If your coffee tastes bitter, dry, or unpleasantly harsh, it is over-extracted. This means the water spent too much time in contact with the grounds. To resolve this, adjust your grind to be slightly coarser. This will speed up the flow rate and keep your brew time within that sweet spot of 3 to 4 minutes.
Remember to only change one variable at a time so you can clearly see what made the difference. For more inspiration on finding the perfect balance for your palate, take a look at our Sunshine Coast Coffee Lovers Guide Perfect Pairings for Every Palate.
Bring Your Pour Over Coffee Passion to Flinders Lane Cafe

At Flinders Lane Cafe, we believe exciting things happen when people come together over good food and exceptional coffee. Located right in the heart of Maroochydore, our cafe is a warm, friendly space designed for our local Sunshine Coast community to connect, relax, and enjoy shared experiences.
Our owner, Janice Kutz, has built a menu and an atmosphere focused on sustainability, quality, and simplicity. We are incredibly proud to be a dog-friendly spot where you can bring your furry friends along for a morning puppacino and treats while you catch up with family or colleagues.
Whether you are enjoying a slow weekend brunch or grabbing a quick weekday bite, our kitchen serves up delicious, comforting classics. You can dig into our crowd-favourite Chilli Scramble, a classic Bacon Benny, or our loaded Avocado Toast (gfo). If you are in the mood for a hearty lunch, our Reuben Sando and Veggie Sando are perfect pairs for our specialty espresso drinks, organic teas, or our refreshing signature smoothies.
We offer two simple, delicious smoothie options on our permanent menu:
- Mango Smoothie: Frozen mango, banana, honey, and milk
- Berry Smoothie: Frozen mixed berries, yoghurt, honey, and milk
We also regularly feature exciting seasonal creations on our monthly specials board, so there is always something new to try when you drop by.
While brewing pour over coffee at home is a wonderful ritual, there is nothing quite like having a professional barista craft your morning cup while you sit back and soak in the local coastal breeze.
Drop by Flinders Lane Cafe in Maroochydore and treat yourself to your morning fix today! If you love what we do, show our friendly staff your 5-star review and receive a FREE small coffee on us.
- Our Location: Unit 2/31 Flinders Ln, Maroochydore QLD 4558
- Opening Hours: Mon-Fri 6:00am - 1:30pm; Sat-Sun 7:00am-1:00pm
- Explore Our Dishes: Check out our full Flinders Lane Cafe Menu
- Get in Touch: To enquire about events or say hello, visit our Contact Flinders Lane Cafe page
- Read More Stories: Find more brewing tips and local updates on the Flinders Lane Cafe Blog